Giant Afghan Blanket...

If you know how to make the traditional 'Granny Square' then this will be right up your alley, and very easy too...and if you don't know, then hopefully my pattern will help you out...
This project started when i realised that i had far too much of a stash in my sock drawer and it needed to be used! I do tend to horde...I have tried to stick with the basic colour scheme of whites and pinks/purples. There are some other darker tones in there to compliment the lighter and brighter notes, but overall i think that the colours work well together. I did really just go with what i had.I decided to make it as one giant square rather than lots of small squares as i thought that this might look a little different as a lot of other blankets that i've seen around. Also, i can't seem to get the connecting bit right when i do the smaller granny squares :(
Things you need to know for this patten:
CH: Chain
DC: Double Cluster
DC Cluster: Three double crochets together
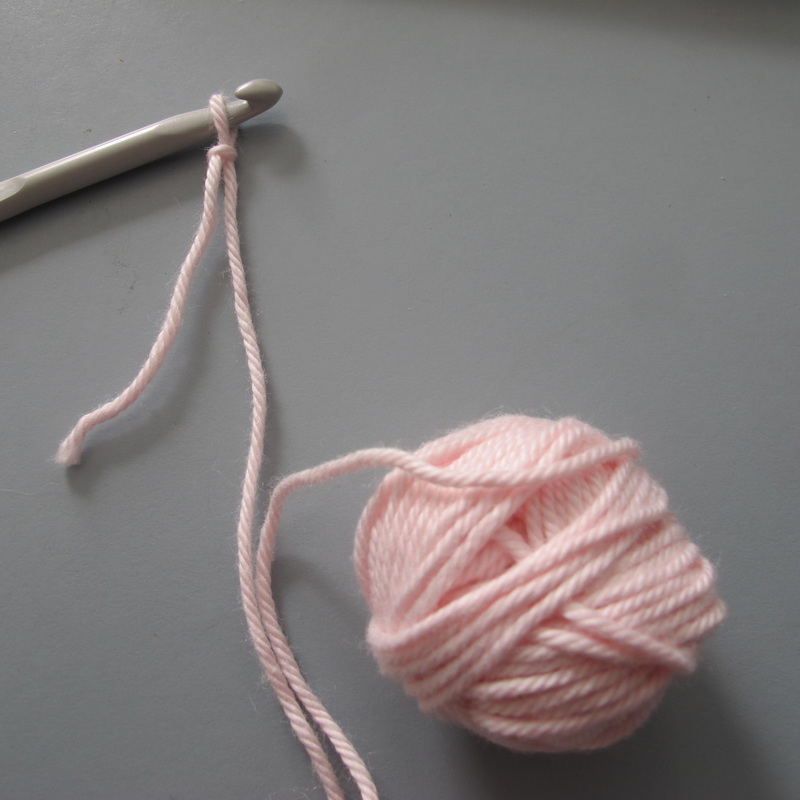
I am using a 5.00 mm crochet hook...
This project started when i realised that i had far too much of a stash in my sock drawer and it needed to be used! I do tend to horde...I have tried to stick with the basic colour scheme of whites and pinks/purples. There are some other darker tones in there to compliment the lighter and brighter notes, but overall i think that the colours work well together. I did really just go with what i had.I decided to make it as one giant square rather than lots of small squares as i thought that this might look a little different as a lot of other blankets that i've seen around. Also, i can't seem to get the connecting bit right when i do the smaller granny squares :(
Things you need to know for this patten:
CH: Chain
DC: Double Cluster
DC Cluster: Three double crochets together
I am using a 5.00 mm crochet hook...
|
THE PATTERN
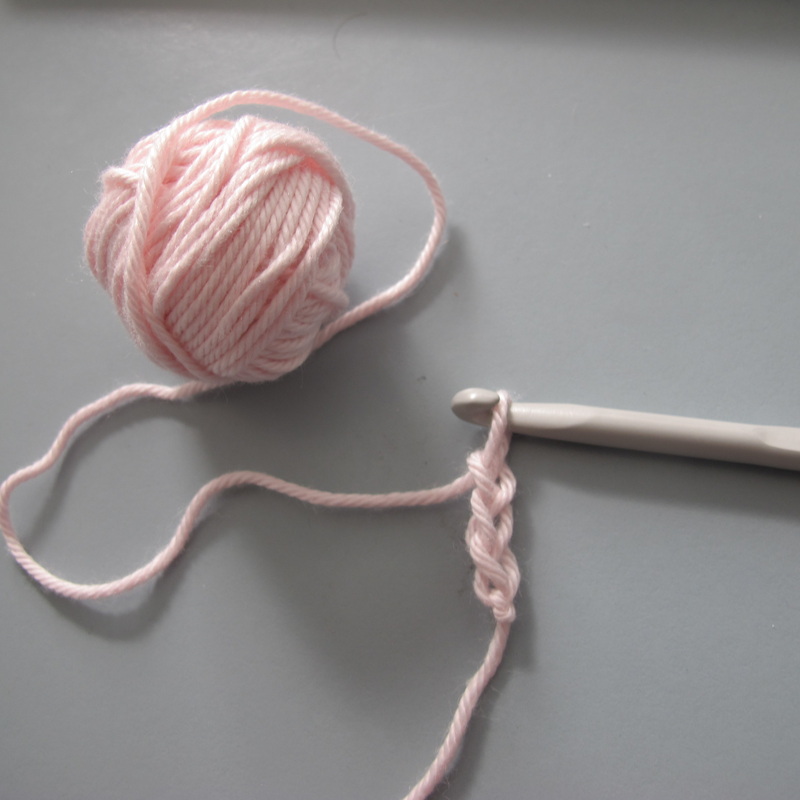
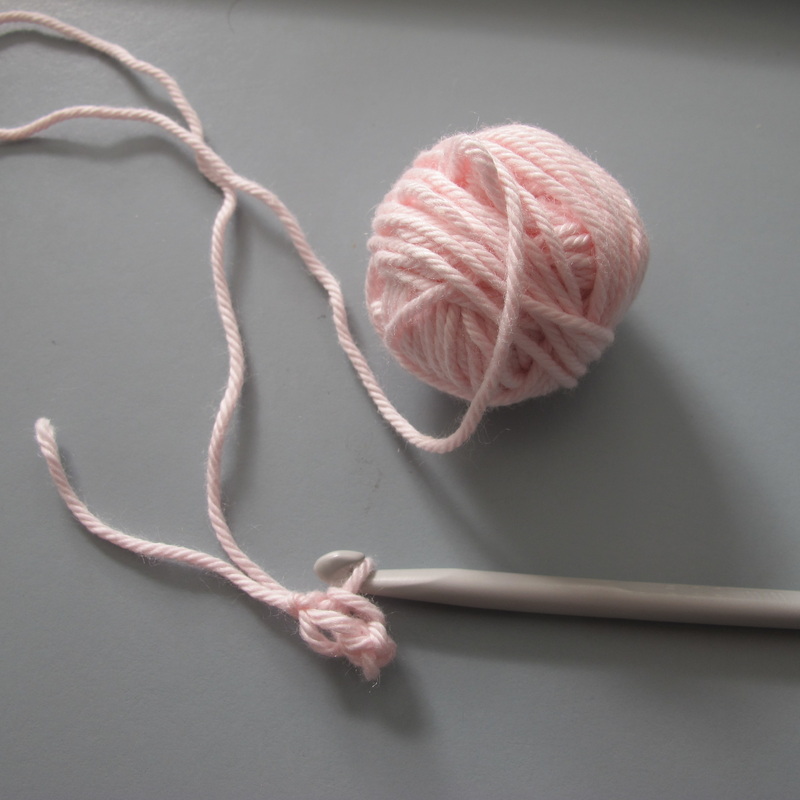
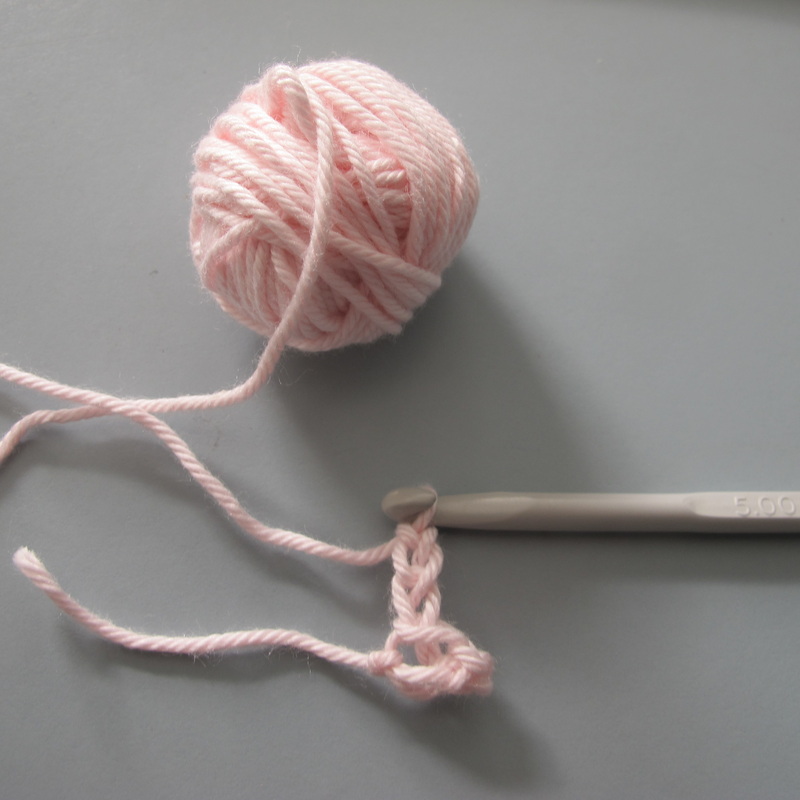
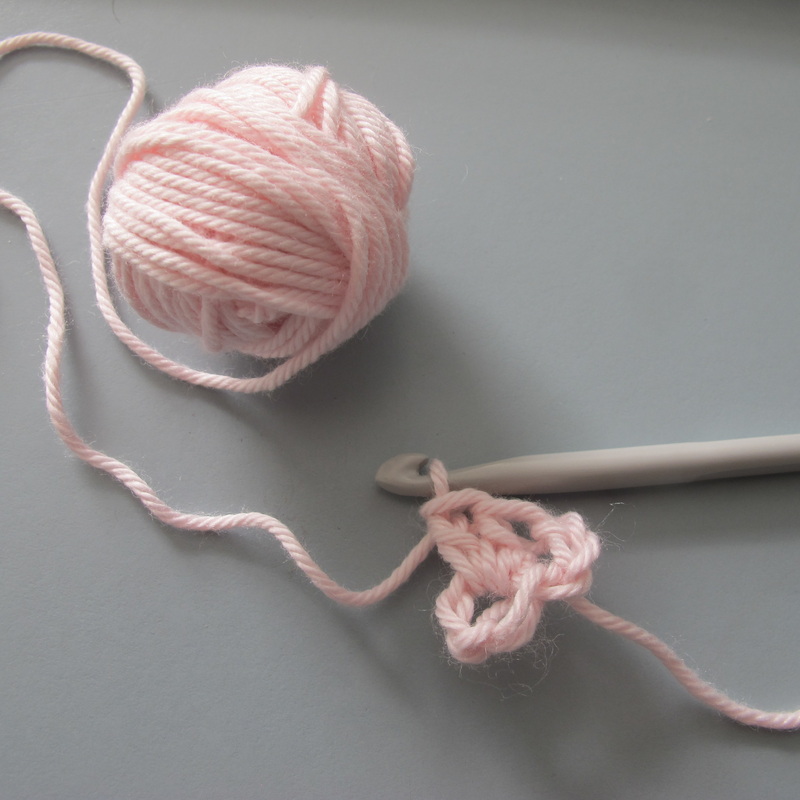
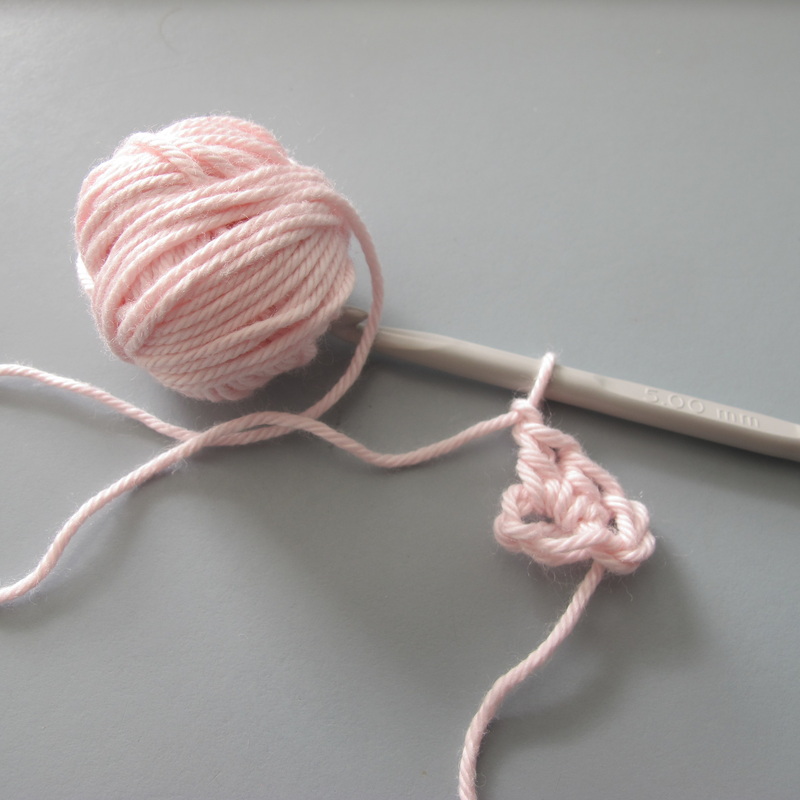
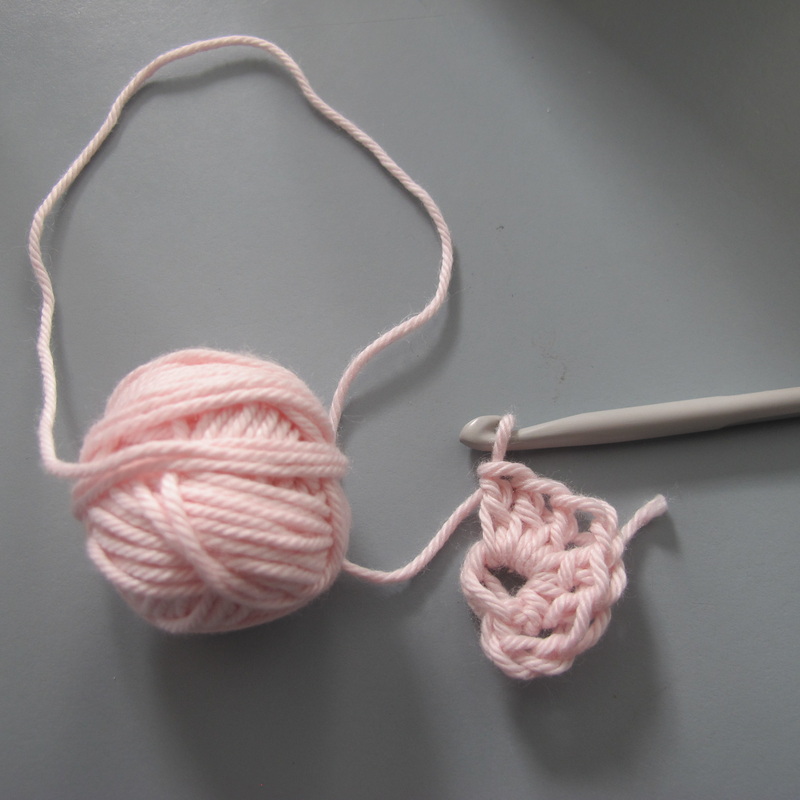
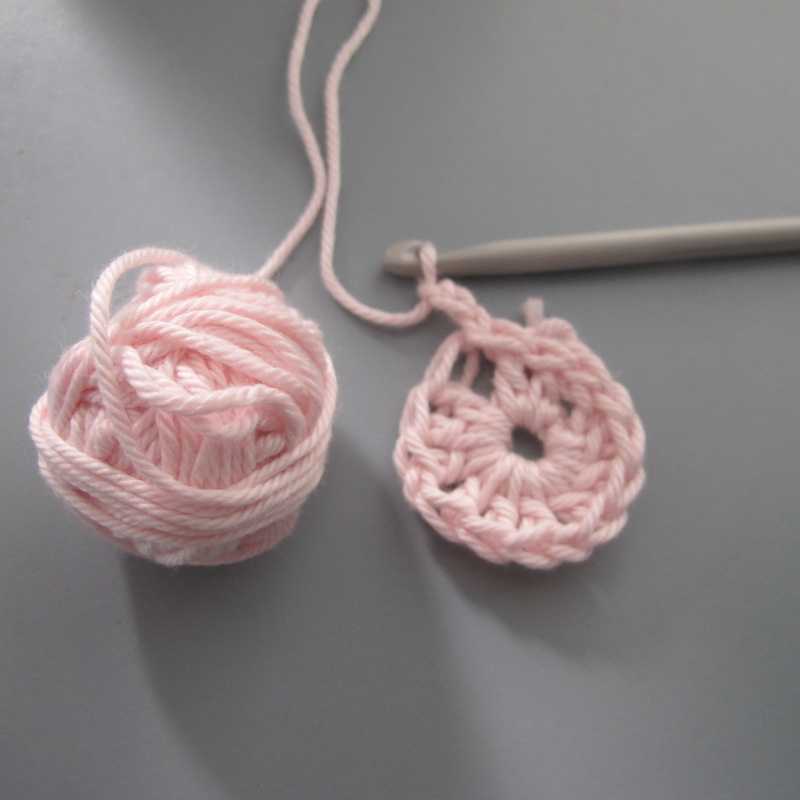
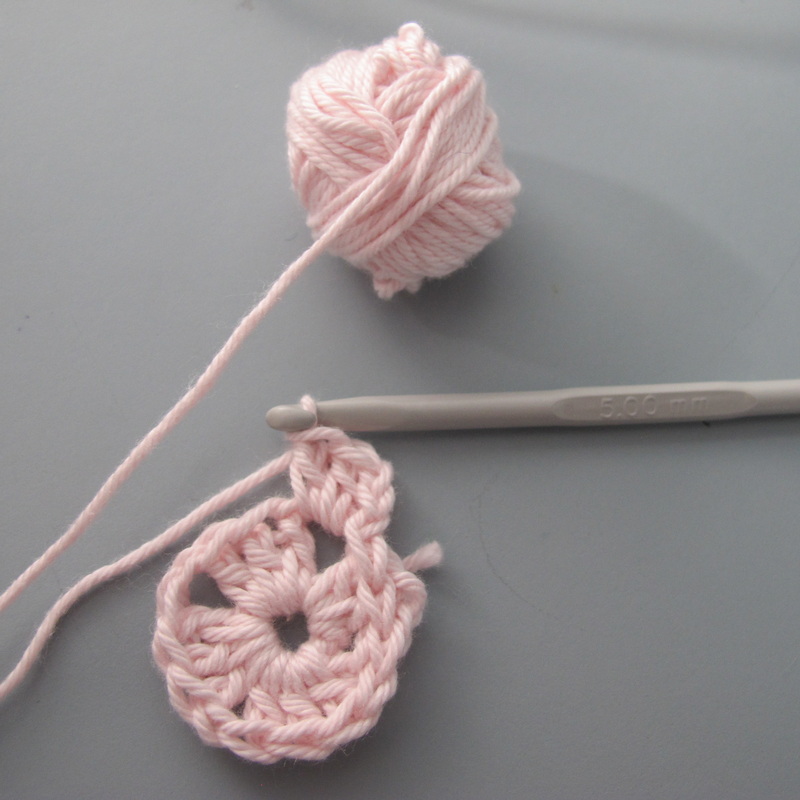
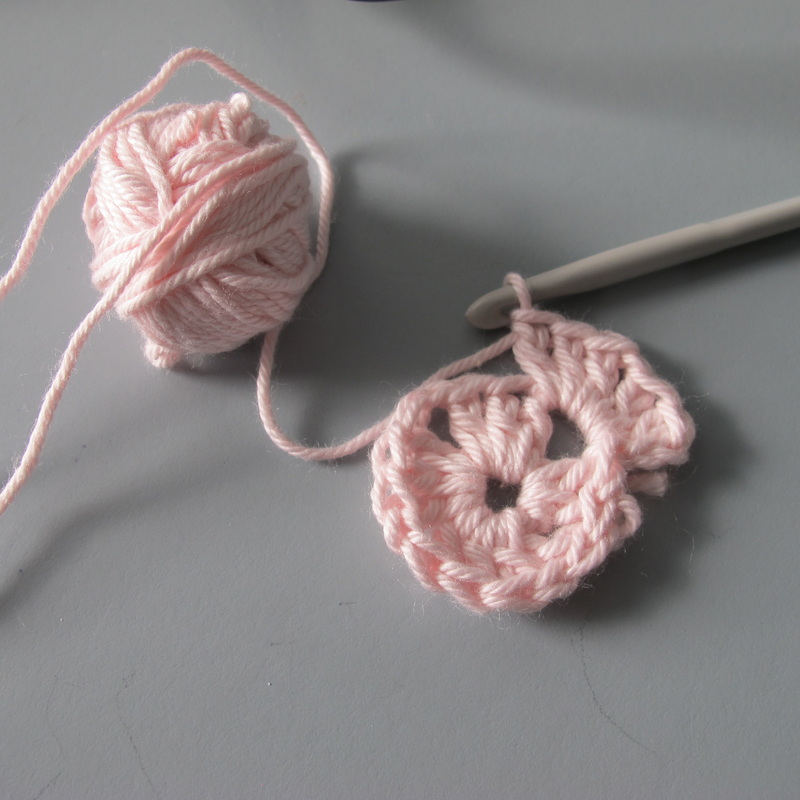
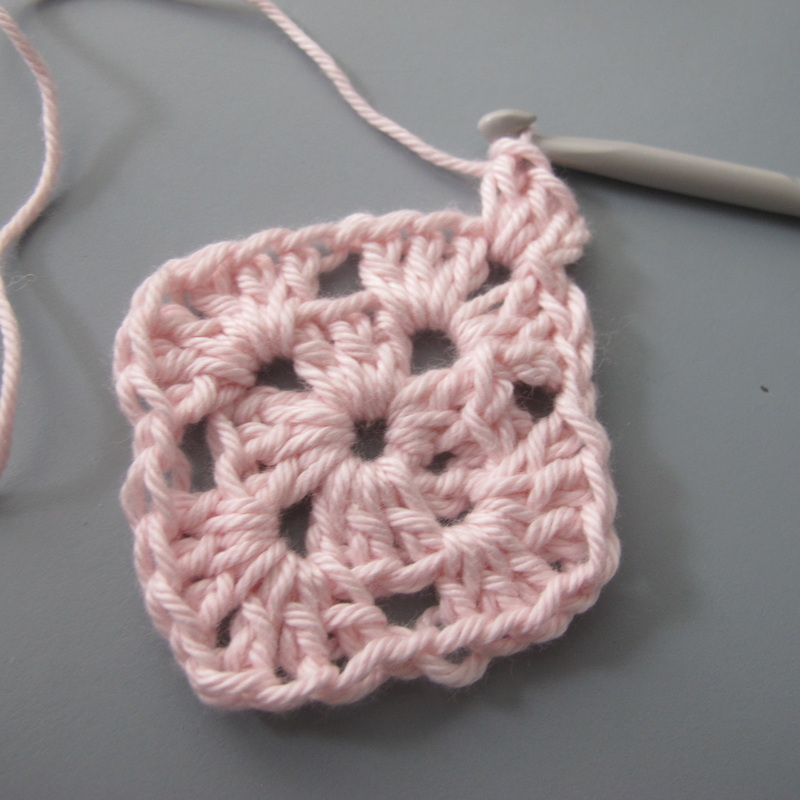
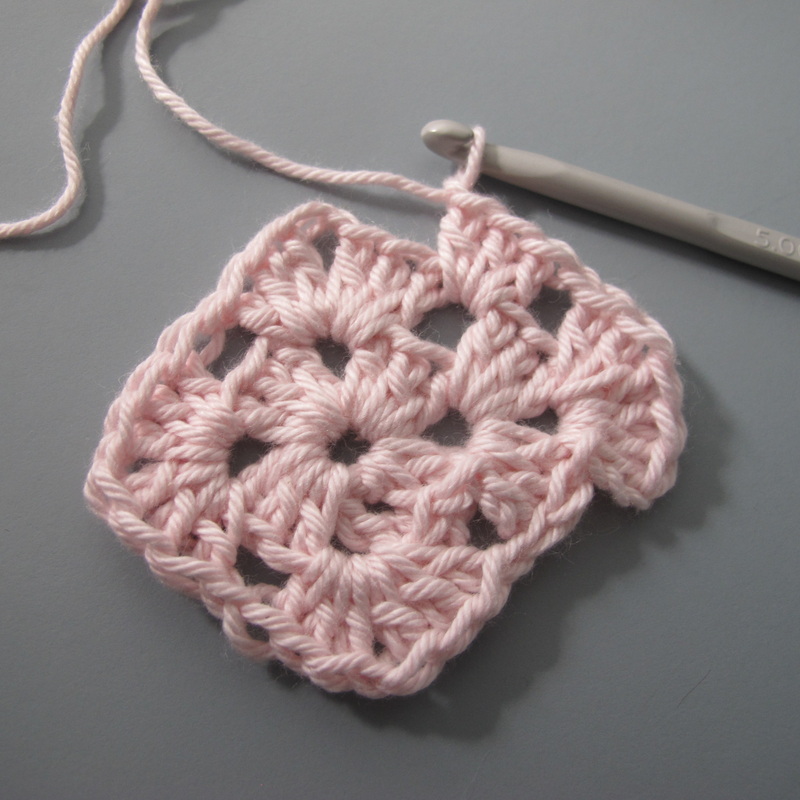
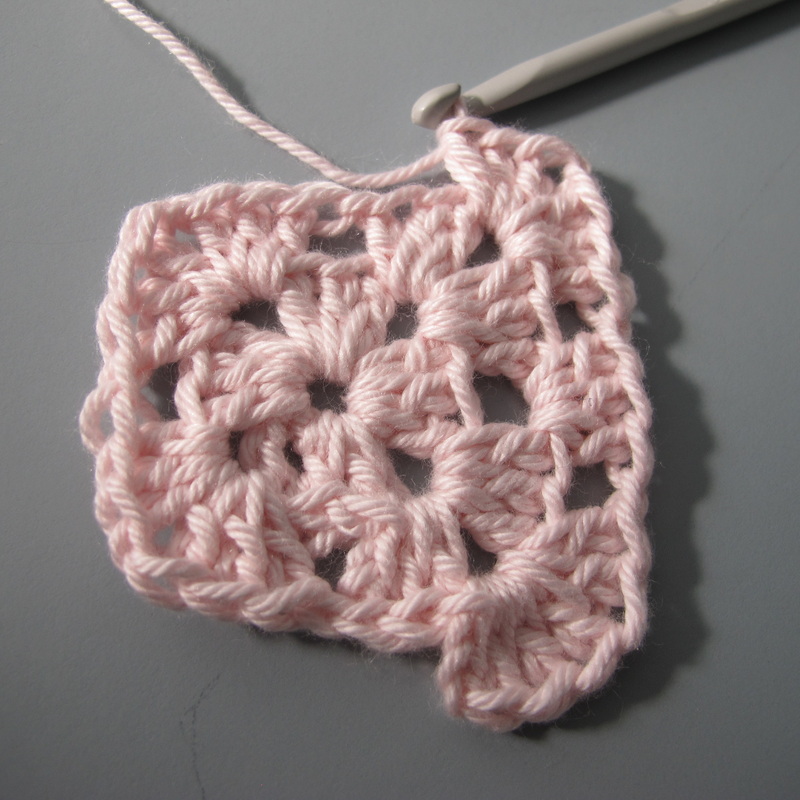
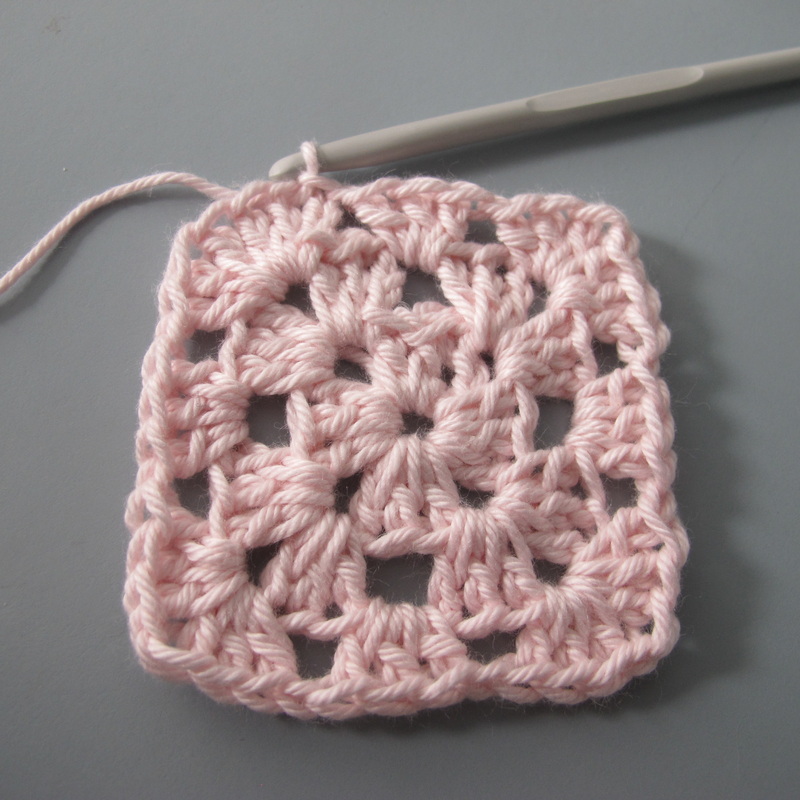
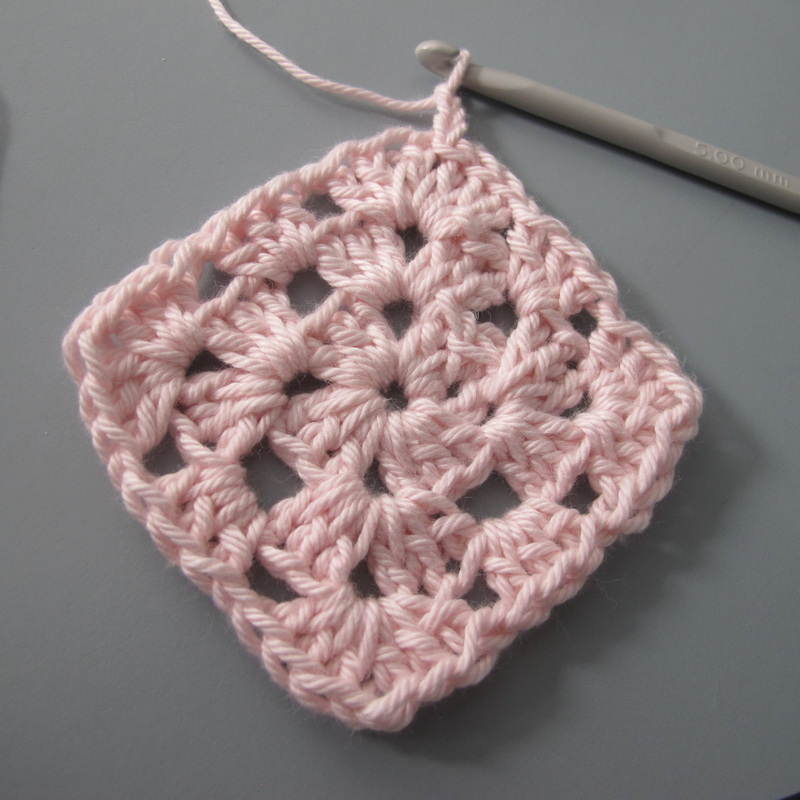
...see the photo instructions to the right >>>> You need to start at the top left and go across, then on each row start at the far left and read across... CH 4, then join into a ring with a slip stitch ROUND 1 Chain 4, work *3 DC into centre of ring and then chain 1* 3 times, then 2 DC into centre of ring Join to close with a slip stitch ROUND 2 To work the corner of round two, you first chain 4, then 2 DC in same space, CH 1, then 3 DC in the same space...first corner done! CH 1, then work the next corner by working 3 DC in next space, CH 1, then 3 DC in same space, CH 1, repeat two more times to complete the round ROUND 3 Work the corner in the same manner as the previous round: CH 4, 2 DC in same space, CH 1, 3 DC in same space, CH 1 To work the sides, simply work 3 DC in the next space then CH 1...repeat until you reach a corner again Keep working in this way, with two clusters of 3 DC in the corners and 1 cluster on the sides until you finish the round. Just be sure there is a CH 1 in between each grouping of 3 DC as you work each round...this is how you get the impressive looking corners. Repeat round 3 as many times as you want to achieve the desired size... |
|


NOTE: All content, including text and images belong solely to PoweredByFondantFancy, unless otherwise stated, or linked out. To use them without permission is not only really disrespectful, and unkind but against copyright laws! If you feel that you would like to speak to me about this then please leave a comment for me on the 'Comments' page.
OTHER SITES: PoweredByFondantFancy may contain links to other sites; however, i'm no way responsible for the content, or the privacy practices employed by the other sites. I encourage you to read their privacy policies.
OTHER SITES: PoweredByFondantFancy may contain links to other sites; however, i'm no way responsible for the content, or the privacy practices employed by the other sites. I encourage you to read their privacy policies.
